This article walks you through how to pass information about your known website visitors
The Identities™ program allows you to pass information about known website visitors, such as: username, customer name, subscription date, product, catalog, serial or part number, etc.The most common application is to report on specific visitor behavior of those users who authenticate with your website (such as log-in or have a cookie set to recall their username, user ID, etc.)
Note: Identities cannot capture personal information about a website visitor without them first providing it to you via some interaction with your website either on the current visit, or a previous visit.
How To Setup Identities
-
Activate Identities
Add the variable MyID to the second line of your account tracking tag. In order for this to work properly, your website must dynamically pass the desired variable to the tracking tag, and this code addition is meant for this purpose.var DID=xxxxxx;
var MyID='ID Tag Here';
Note:The variable, MyID, is case sensitive.
ID Tag Here is not case sensitive. You can replace what is between the single quote marks (') with your own identifying text.
-
Pass Identities to the Tracking Tag
In order to pass a visitor Identity to your tracking tag, you must use some form of server-side language (such as PHP, ASP, Perl, CFM, etc.) to place the identity value in the MyID variable.-
Login to your LIVE Leads platform and select Analytics.
-
Click the Identities tab.
-
Click the Identities Manager tab.
-
Click Add Identities or Upload Identities:
-
To add individual identities:
-
Click Add Identities.
- Enter the information for a specific identity. The identity name must match the MyID value passed within your tracking tag.
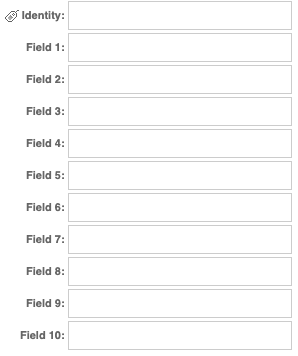
-
Click Save.
-
- To upload multiple identities using a CSV file:
- Prepare your CSV file:
- Can contain up to 10 data fields and should be delimited with a semi-colon (;)
- The first field must be the Identity name and must match the MyID value passed within your tracking tag.
- Example:
john@hisdomain.com,John,Doe,1234 Main Street,San Jose,California,95129,(408) 123-4567,United States,Manufacturing,Customer
- Click Upload Identities.
- Click Choose File to select your CSV file.
- Click Upload Identities.
- Prepare your CSV file:
-
-
Additional Options
- Add associated information to Identities:
- Use the Upload Identities steps above (Step 2d).
The system will associate all past Identified visitors with the updated CSV.
(Note: The CSV file needs to be set for unix line breaks)
- Use the Upload Identities steps above (Step 2d).
- Assign custom names to your Identities field names:
- Click Field Naming.
- Enter your desired custom names to each of your identity's field names.
- Optional: Use the API String field to provide a URL back to your network to perform a lookup on the Identity value.
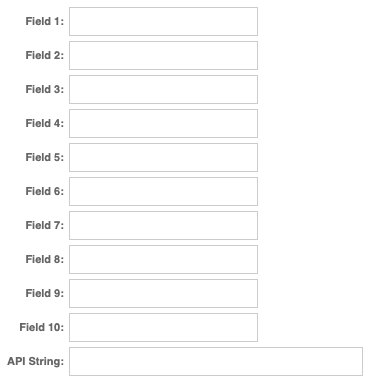
- Click Save.
How to Search Identities
Search within all the Identity records you have saved in LIVE Leads.
-
Select Analytics.
-
Click the Identities tab.
-
Click the Identities Manager tab.
- Click Identities Search.
Additional Resources:
If you need additional assistance, please contact our Customer Success & Support team.