- Login to your LIVE Leads platform and select Conversions.

- Within the Campaign Manager tab, select Start New Campaign.

- Enter the campaign name and create a custom campaign (PMC) code.

- Optional: Select a start date. We recommend no end date for email campaigns.
- Optional: Enter a campaign cost or conversion page.

- The default campaign URL is your top level domain (TLD).

- Update the campaign URL with your landing page and any other additional tracking parameters. To capture email identities, be sure to add &MyID= with the email personalization token.
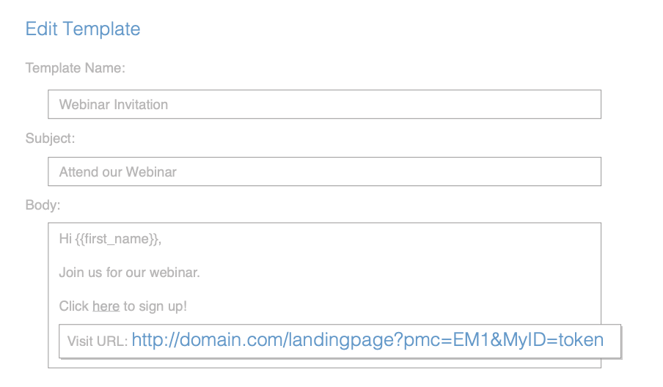
Here are the elements that make up a Campaign URL:
Domain http://www.domain.com Page name /pagename Campaign code ?pmc=code Other tracking & utm_source=code Email variable* &MyID=*|EMAIL|*
*Example above uses Mail Chimp’s email variable
-
Within your email vendor platform, add the campaign URL to email templates.

-
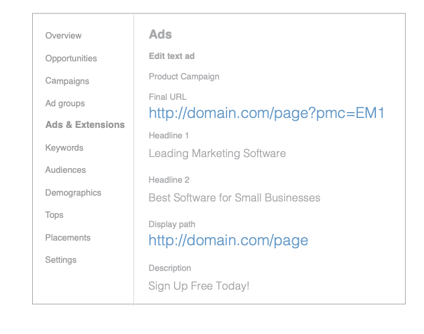
Within your ad vendor platform, add the campaign URL to ads.
Available reporting options include Campaign Summary Report, Identities Report, and Advanced Lead Search. For additional assistance, please contact our Customer Success & Support team.
To enable the Identities feature, click Settings then select the Data Compliance tab and fill out the agreement to opt in.![]()